
How to Do a Proper Solar Site Survey — The Indian EPC Guide
Do the Remote Design Work First — Then Visit to Confirm
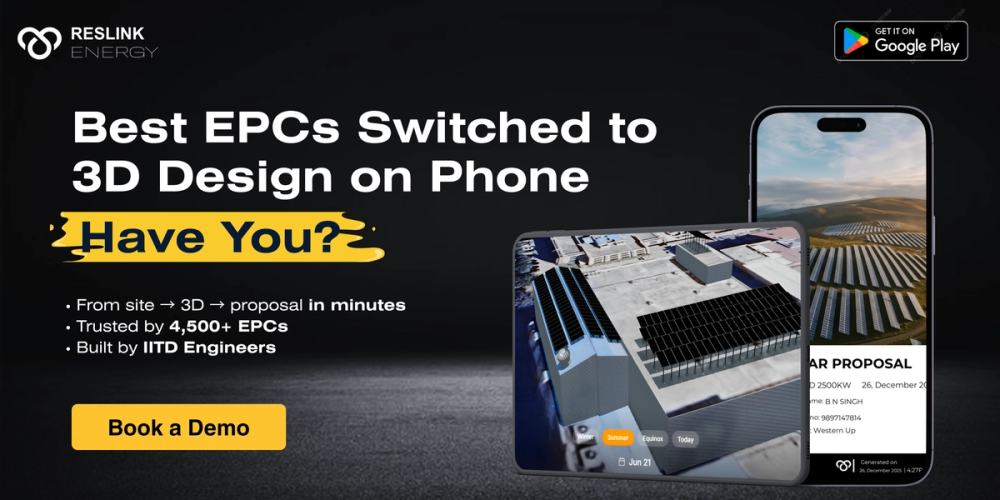
The most efficient solar site survey starts at a desk, not on a rooftop. Before visiting any site, a well equipped EPC with right tools can determine the roof's available area and orientation from satellite imagery, identify major shading obstructions from aerial views, calculate rough system sizing, and model a preliminary panel layout. By the time the EPC arrives at the site, the visit has one purpose: confirming the digital model matches physical reality and checking what cannot be assessed remotely — structural condition, earthing feasibility, water access, and the exact location of the main distribution board.
This sequence cuts site visit time by 60 to 70% and produces a more accurate design than a manual survey alone, because satellite derived roof models capture dimensions more precisely than tape measures on a complex rooftop.
The 12-Point Checklist — Remote First, Then On Site
Do Remotely Before the Visit —
- Roof orientation and tilt — Use satellite imagery to determine which direction the roof faces. South facing maximises generation in India. East or west facing systems lose 15 to 20% annually. A north facing roof may not be viable for rooftop solar at all.
- Available roof area — Trace usable area on the satellite model excluding obstructions, setbacks, and access pathways. A 1 kW solar installation requires approximately 8 to 10 square metres. This gives the maximum system size before the client conversation begins.
- Major shading obstructions — Identify water tanks, parapet walls, staircase structures, adjacent buildings, and elevated roofs visible in the imagery. Run a preliminary shading analysis. If shading is severe during peak hours (10 AM to 3 PM), flag this for discussion before committing to a generation estimate.
- Electricity bill analysis — Request three to six months of bills before visiting. Extract average monthly consumption (kWh), peak demand (kVA), and current per unit tariff. Calculate the maximum viable system size. Size for 80 to 90% of consumption, not 100%.
- Sanctioned load verification — Confirm the sanctioned load from the electricity bill. The solar system capacity should not exceed the sanctioned load limit. Oversizing beyond this causes DISCOM rejection.
- DISCOM interconnection point location — Identify the main meter and distribution board location from the building address. This determines cable routing distance and whether additional wiring runs are needed to reach the interconnection point.
Confirm in Person During the Visit —
- Structural condition of the roof — Inspect for cracks, delamination, water pooling, and signs of previous modifications. For older buildings, check load bearing capacity for the mounting structure weight. If uncertain, require a structural engineer signoff before proceeding — non negotiable for rooftops above the ground floor.
- Obstructions missing from satellite imagery — Ground level obstructions like solar water heaters, mobile antenna masts, temporary structures, and vegetation are often missing from satellite images. Walk the full roof perimeter and update your shading model with anything the satellite view missed.
- Earthing feasibility — Assess soil type and moisture level near the earthing point. Sandy or rocky soil requires chemical earthing rather than standard GI rods. In coastal areas, corrosion resistant materials are required.
- Cable routing path — Walk the proposed cable route from panels to inverter to distribution board. Measure cable lengths. Identify whether cable trays, conduit through walls, or external routing is needed. Cable routing is the most commonly underestimated line item in BOM preparation.
- Water access for panel cleaning — Verify water access is available near the installation area. In dry regions where cleaning frequency is high (6 to 10 times per year), a distant water source significantly increases maintenance cost.
- Inverter placement location — Identify a location protected from direct sunlight and rain, within 30 to 40 metres of the panels, and accessible for servicing. Access control is important — inverters are a target for theft in exposed locations.
The documentation rule: Everything found in the site survey should be documented in writing before leaving the site. Take photos of structural concerns, shading obstructions, the earthing location, the distribution board, and the proposed inverter location. These photos become part of the project file and protect the EPC if disputes arise later.

Frequently Asked Questions
Common site survey questions from Indian EPCs across residential and commercial segments.
How long should a site survey take for a 10 kW residential installation?
With remote preparation done first, a residential site visit should take 20 to 35 minutes. Without preparation, the same visit typically takes 75 to 90 minutes. The time saved is the difference between visiting one site per morning and visiting three. For commercial projects above 100 kW, allow 45 to 90 minutes on site regardless of remote preparation, as more detailed structural and electrical assessment is required.
What is the most important thing to check in a site survey?
Shading analysis is the most consequential check. Every other error can be corrected relatively easily — oversizing can be caught before installation, cable routing can be adjusted, earthing can be upgraded. But installing on a heavily shaded roof with an optimistic yield estimate creates a client expectation the system will never meet. That disappointment arrives every month for 25 years. Address shading honestly at the design stage, even if it means recommending a smaller system than the client initially wanted.
Do l need to visit the site before providing a quotation?
For residential projects, an indicative quote based on satellite imagery and the client's electricity bill is sufficient to start the conversation — with a clear note that the final quote is subject to site visit confirmation. For commercial projects, a site visit before quoting is important because structural conditions, electrical infrastructure, and cable routing complexity significantly affect project cost. Providing a fixed commercial quote without site verification often results in change orders mid project that damage the client relationship.
Related Articles

How to Survey and Design a Wind Solar Hybrid Site
Wind solar hybrid projects use the same land, same grid connection, and same substation for both technologies. Here is how solar EPCs should approach a hybrid project in India.

PM Surya Ghar's Subsidy Got Bigger — Are You Using the New Numbers?
The PM Surya Ghar CFA rate increased 23% in January 2026. In Gujarat, state top ups push total reachable subsidy to Rs 1.18 lakh. Most EPCs are still quoting old numbers. Here is the breakdown.

How to Get Your First 50 Solar Leads When You Are Just Starting Out
New solar EPC in India? The 7 lead generation channels that work — from Google My Business and IndiaMart to WhatsApp RWA groups and referral programmes. Step by step, with realistic timelines.